
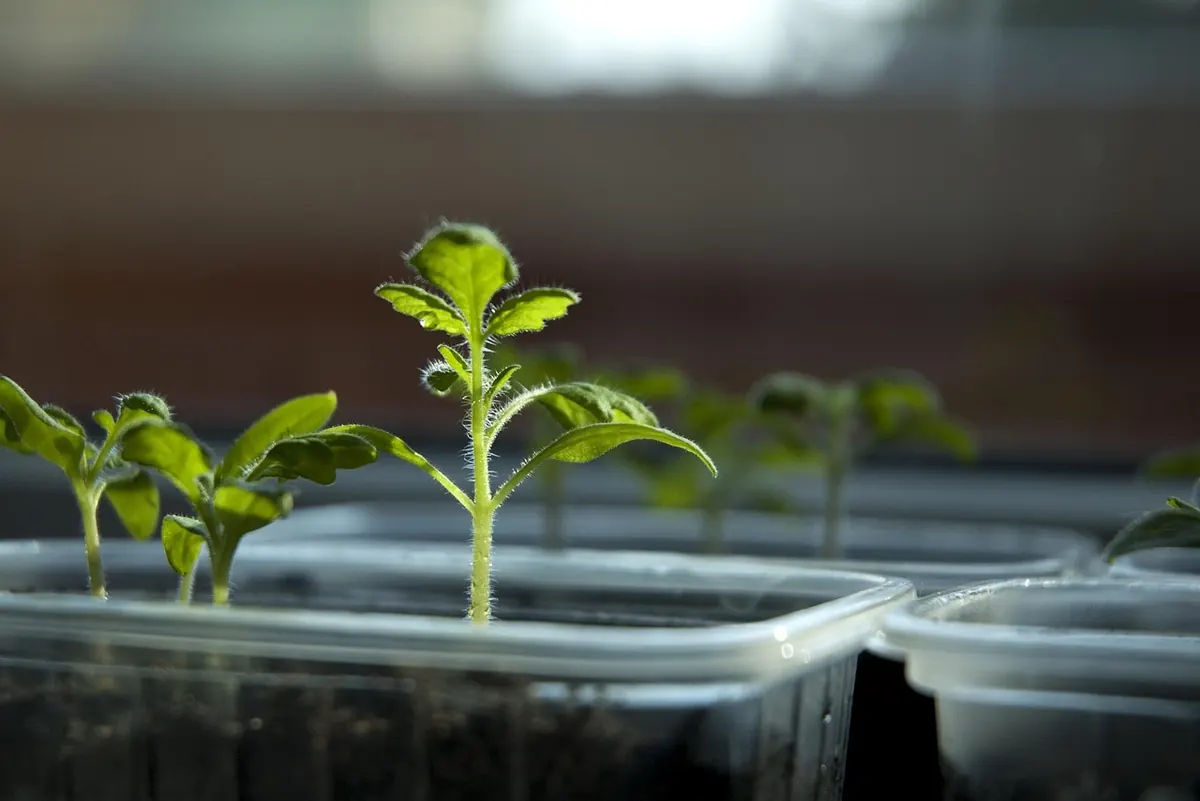
Tomatoes reward a little planning more than almost any other garden crop. Start with good seed, give the seedlings light and room, plant them deep, and keep the water steady, and you can pick fruit from your own plants for weeks. The timeline below follows the season from late winter to the first frost. It uses months as a guide, not a rule: if your last frost arrives in April, shift everything earlier; if it comes in June, wait. The plants will tell you more than the calendar does.
Late Winter: Plan, Choose, and Prepare
Begin roughly eight to ten weeks before your last expected frost. This is the quiet work: choosing varieties, checking supplies, and deciding where the plants will go. For a first season, cherry tomatoes are forgiving and productive. Determinate varieties stay compact and suit containers; indeterminate varieties keep growing and fruiting until frost, so they need a sturdy stake or cage.
Write your last frost date on a calendar and count backward. Then gather what you need before sowing day, so the seeds do not sit waiting while you search for pots.
- Fresh seed, labelled with the variety and year
- Clean seed trays or small pots with drainage holes
- A light, sterile seed-starting mix
- A warm, bright spot or a simple shop light
- Labels, a waterproof pen, and a spray bottle
If you garden in containers, clean them now and check that drainage is clear. If you garden in beds, add compost and loosen the top layer, but do not work wet soil. Wait until it crumbles in your hand rather than smearing into a clod.
Six to Eight Weeks Before Last Frost: Sow Indoors
Tomato seed germinates best in warmth, roughly 20–25°C. Moisture matters more than deep planting. Sow about 6 mm deep, cover lightly, and keep the mix damp but not sodden. A clear cover or a sheet of plastic holds humidity until the first seedlings appear.
- Fill trays with moist seed mix, pressing it gently to remove large air pockets.
- Sow two seeds per cell, or one if the seed is fresh and you are short of space.
- Cover with a thin layer of mix and label each row with variety and date.
- Keep the tray warm and check daily. Remove the cover as soon as seedlings break the surface.
- Move the tray to the brightest spot you have. Weak, pale seedlings stretch toward the light and never quite recover.
A sunny windowsill can work, but turn the tray every day so stems grow straight. If the light is poor, a plain fluorescent or LED shop light set close above the leaves for twelve to sixteen hours a day makes a real difference. Keep it just above the plants, not touching them.
Four to Six Weeks Before Last Frost: Prick Out and Harden Off
When seedlings have their first true leaves—the pair after the initial seed leaves—move the strongest ones into individual pots about 8–10 cm across. Handle them by a leaf, never by the stem. Plant them slightly deeper than they were growing; tomatoes form roots along the buried stem. Water gently and keep them bright and cool-ish, around 18–21°C, to encourage stocky growth.
Do not rush them outside. About ten days before planting, begin hardening off. This is simply getting plants used to sun, wind, and cooler nights.
Hardening off, day by day
- Day 1–2: one hour in sheltered shade, then back inside.
- Day 3–4: two to three hours in morning sun, protected from wind.
- Day 5–7: half a day outside, gradually into more direct sun.
- Day 8–10: leave them out overnight if nights stay above about 10°C.
Bring them in if frost is forecast or if a cold wind picks up. Pale, sunburnt leaves are a sign you moved too fast; shade them and slow down.
Planting Week and the First Month Outside
Plant out after the last frost, when the soil has warmed and nights are reliably mild. Set plants deeply: remove the lowest leaves and bury the stem up to the first remaining leaf. A trench-planted seedling or a plant set into a deeper hole will root along the stem and stand up better in dry weather.
Space according to the variety, generally about 45–60 cm apart for staked indeterminate plants, and wider for sprawling types. Put the stake or cage in at planting time, not later. Pushing a stake through established roots does more damage than most gardeners expect.
Water well after planting. For the first week, watch for wilting and give shade during the hottest part of the day if needed. Once plants settle in, water deeply when the top few centimetres of soil feel dry. A layer of mulch helps hold moisture, but wait until the soil has warmed. Feed only lightly at this stage; too much nitrogen gives you lush leaves and few tomatoes.
Midsummer: Water, Feed, and Keep Fruit Coming
As flowers open and the first small fruits set, switch to a steadier routine. Water deeply rather than little and often, aiming at the soil, not the leaves. Irregular watering—soaking, then letting plants dry out hard—is behind many split fruits and blossom-end rot. A consistent soak every few days is better than a daily sprinkle.
Start a tomato feed when the first fruit has set, following the label dose. High-potassium feeds support fruit rather than leaf growth. Do not feed every day in the hope of more tomatoes; more is not better.
Support, prune, and pollinate
For indeterminate varieties, tie stems loosely to the stake as they grow. Pinch out the side shoots that appear between the main stem and a leaf if you want a single-stem cordon; leave the growing tip alone. Do not prune determinate bush varieties this way—they fruit on their outer branches, and trimming them removes your crop. Tap flower trusses gently at midday to help pollination, especially in still air or under cover.
Check under leaves for aphids and other pests, and pick off affected leaves early. Remove yellowing lower leaves to improve airflow, but do not strip the plant bare. In hot, dry weather, keep an eye on blossom drop; shade cloth and steady moisture help.
Late Summer to First Frost: Harvest and Ripen
Pick tomatoes when they are fully coloured and give slightly under gentle pressure. Cherry types are ready when they come away easily. Use snips or twist carefully; the stem can damage the plant if you pull hard. Harvest every few days, and do not leave ripe fruit on the vine too long, as it invites splitting and pests.
Store ripe tomatoes at room temperature, out of direct sun. Refrigeration dulls flavour and changes texture, so use the fridge only for fruit you cannot eat soon. As nights cool, remove new flowers about four to six weeks before your first expected frost so the plant puts energy into finishing existing fruit. If frost threatens, pick green tomatoes and ripen them indoors on a tray, or bring whole plants into a shed if space allows.
A Final Word on Timing and Tending
Keep a simple notebook: sowing date, planting-out date, first ripe fruit, and the varieties that coped best with your weather. Next year, that record will be more useful than any general calendar. Tomatoes are not fussy, but they notice inconsistency. Sow on time, harden off patiently, water deeply, stake early, and pick often. The season will take care of the rest.
Photo: lloorraa / Pixabay
Related posts
More stories you’ll love reading